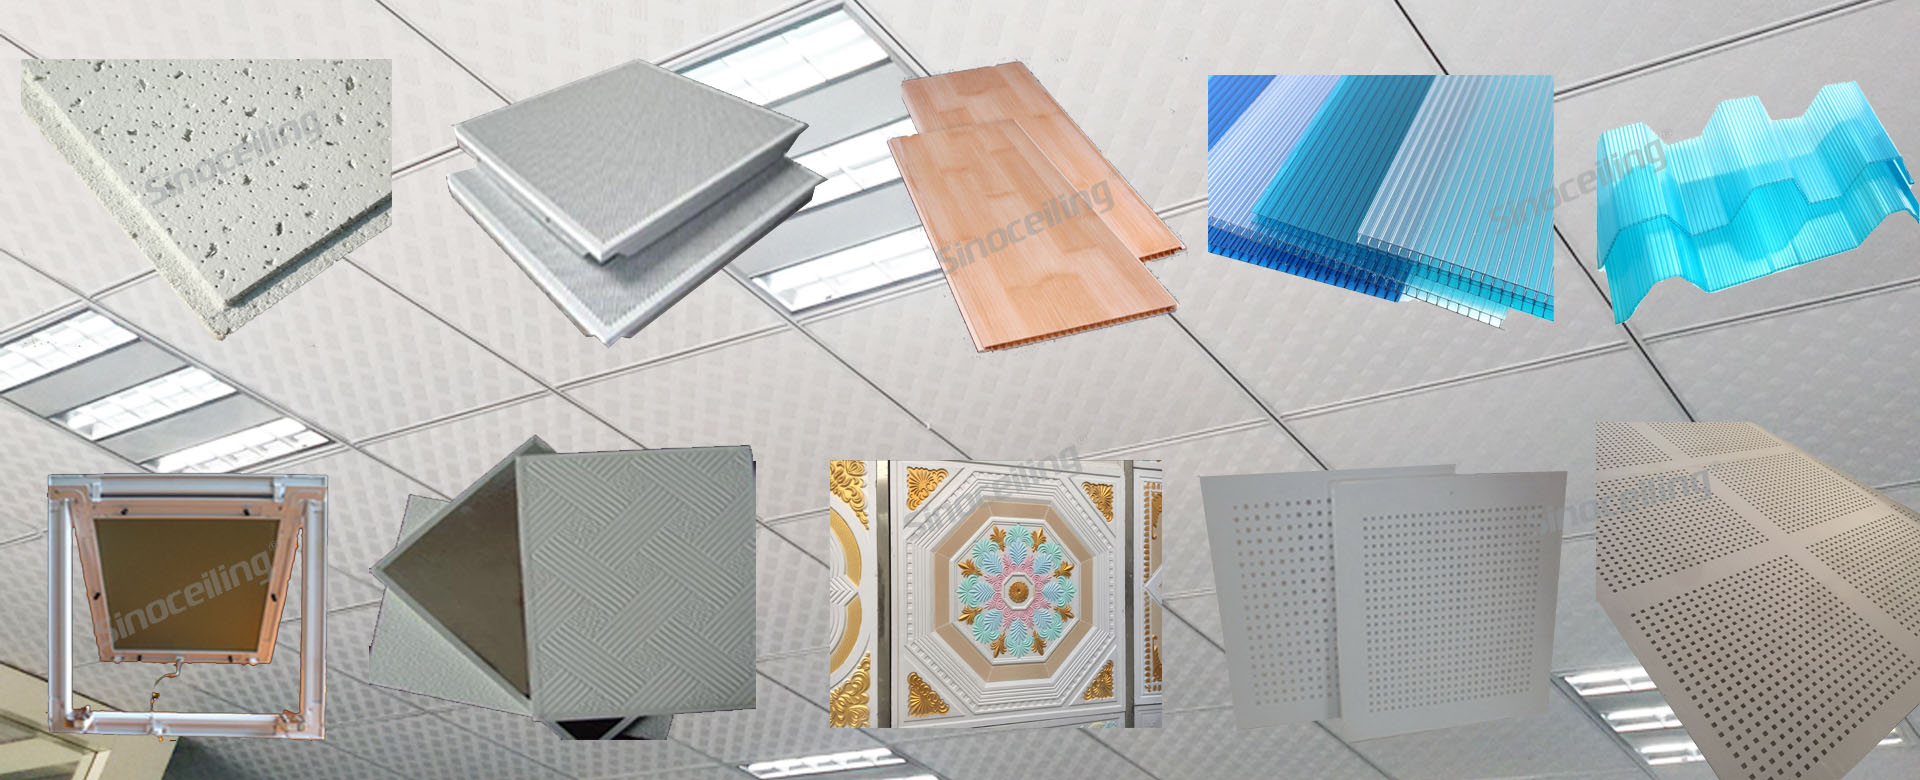


Polycarbonate sheets are thermoplastic panels known for their exceptional strength, weather resistance, and flexibility. The Step-by-Step Installation Process listed as below:
1. Preparing the Framework
A sturdy framework is crucial for successful polycarbonate sheet installation.
•Use durable materials like treated wood or metal for the frame.
•Ensure that the structure is clean, level, and free of sharp edges.
•Space the supports based on the sheet type and thickness. Polycarbonate hollow sheets may need closer spacing for stability.
2. Measuring and Cutting the Sheets
•Measure and mark the desired dimensions on the polycarbonate sheet using a marker or chalk.
•Allow for thermal expansion by leaving 2–3 mm of space per meter.
•Use a circular saw with a fine-toothed blade to make precise cuts. Ensure the edges are smooth to avoid cracks during installation.
3. Drilling Pre-Holes
•Drill holes at least 2 inches away from the edges of the polycarbonate sheet to prevent cracking.
•Use a drill bit slightly larger than the screw diameter to allow for thermal movement.
•Space the holes evenly, approximately 12–18 inches apart, depending on the application.
4. Placing the Sheets on the Framework
•Position the polycarbonate sheets with the UV-coated side facing outward to protect against sunlight.
•Overlap the sheets by at least 50 mm or one corrugation for corrugated sheets to ensure proper water drainage.
•Ensure the alignment is correct for efficient water flow and visual appeal.
5. Securing the Sheets
•Use screws with rubber washers to fasten the sheets securely to the frame.
•Avoid over-tightening screws, as it can create stress points and cause cracks.
•Seal the joints and overlaps with silicone sealant for added waterproofing.
CONTACT
+86-571-85397237
sales@sinoceiling.com
B-9#,Jintong INT'L Mansion, No.113 Huayuangang Rd, Hangzhou, China